Tinder control for your windows app
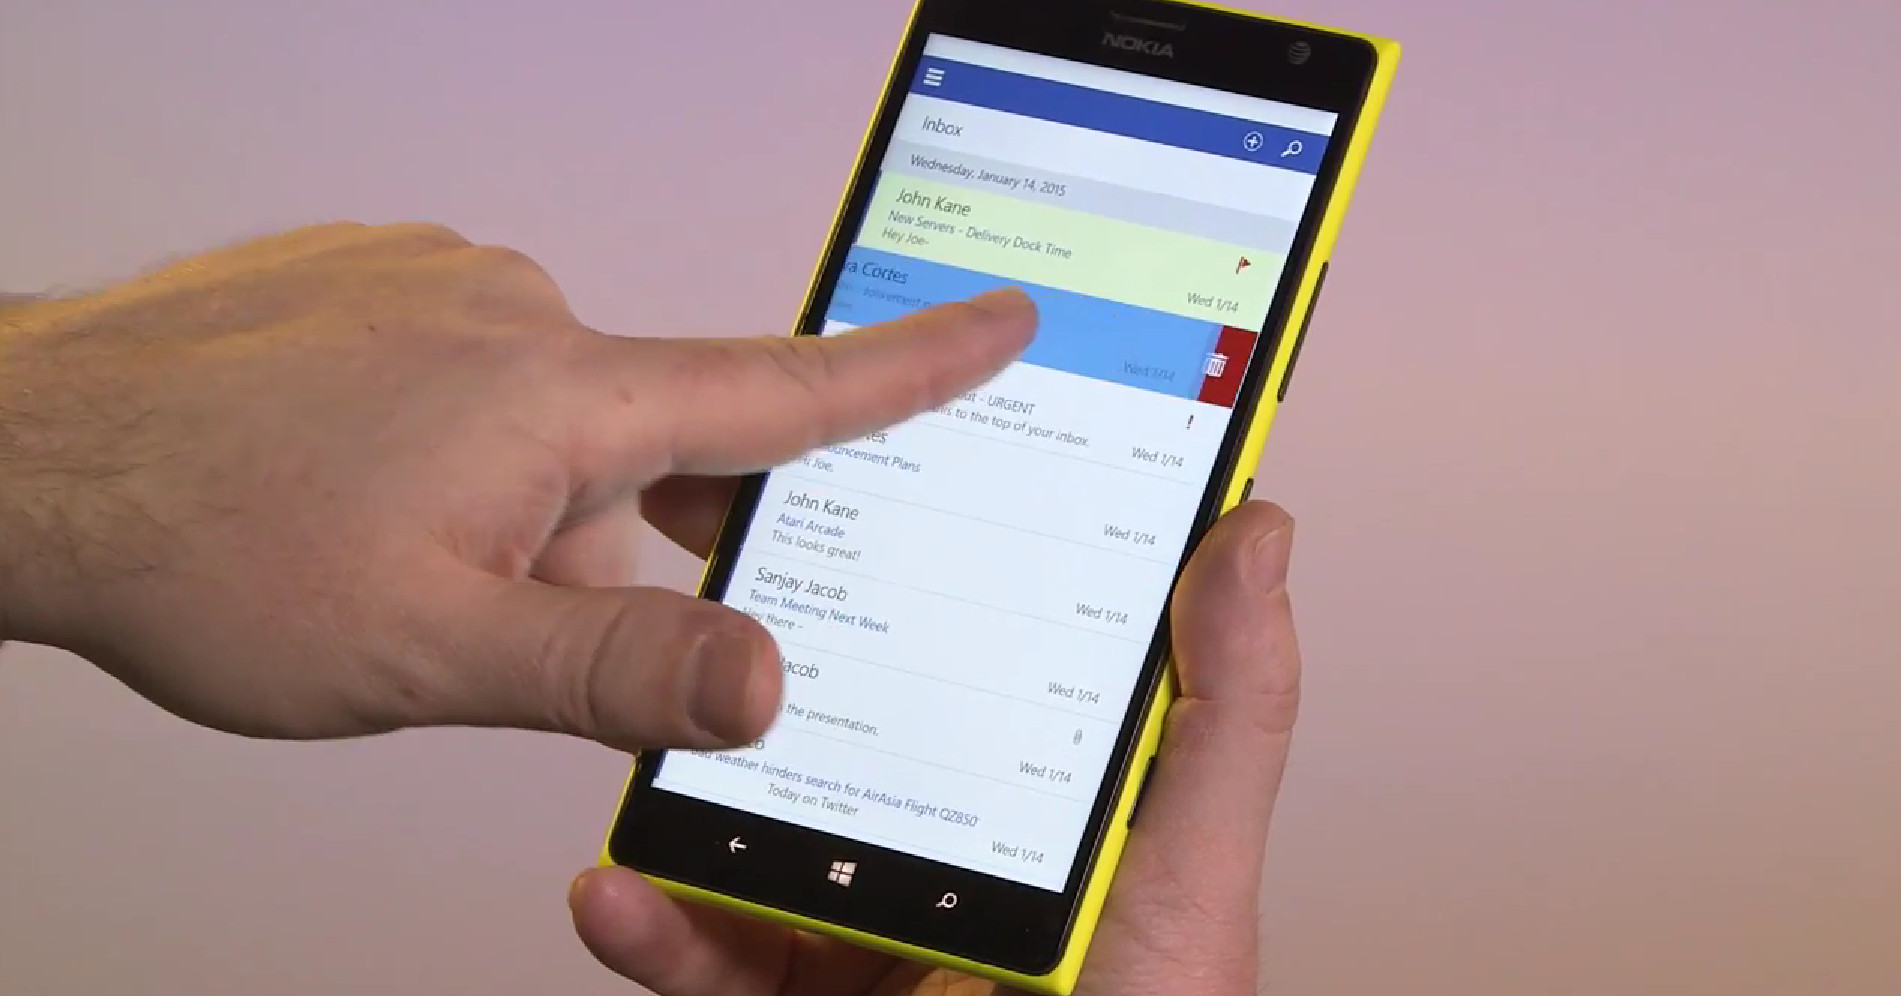
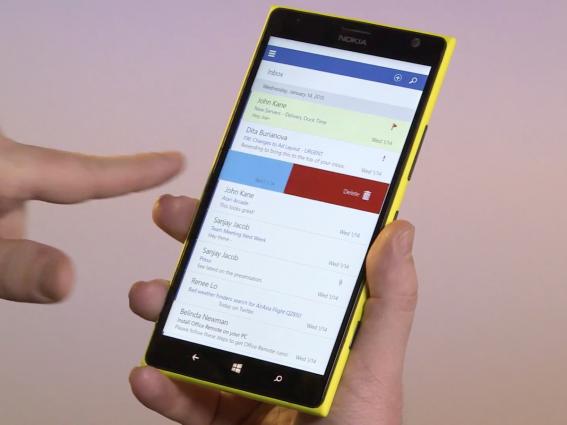
January 21 Microsoft showed off new features that are coming in Windows 10. Also they showed Office for touch. Part of this office for touch is also a Outlook touch version. In this new office version Joe Belfiore showed how you easily work through your email. With a simple right swipe you can flag an email while with a left swipe you can delete an email. During the presentation i saw people call this tinder for your email.
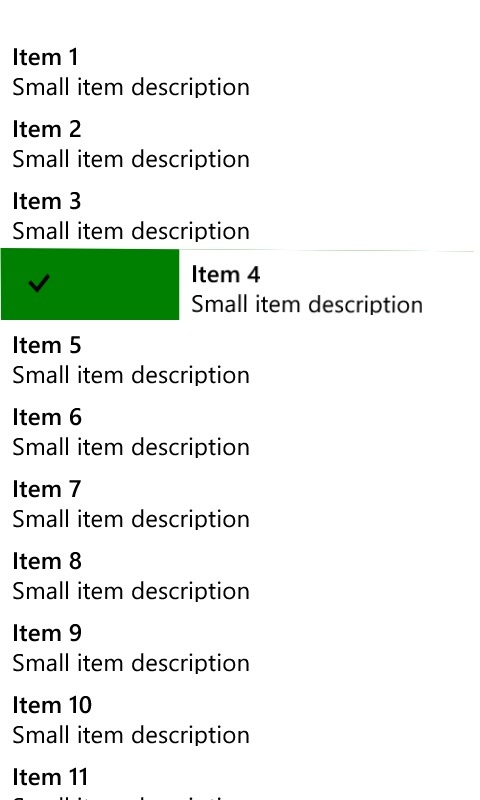
Last week i created an control that let you do the same in your app. The controls contains all animations and is easy to use in MVVM patterns.
With basic styling it looks like this:

How to get it?
You can get this cool control from my github repository: https://github.com/davesmits/NuGet/tree/master/src
and would love to take pull requests to make it even better.
How to use
So how can you use this control?
First need you need to define a listview in your xaml page and for the best experience make the listitems strech the full width of the listview.
Xaml:
<ListView x:Name="listview">
 <ListView.ItemContainerStyle>
  <Style TargetType="ListViewItem">
   <Setter Property="HorizontalAlignment" Value="Stretch"/>
   <Setter Property="HorizontalContentAlignment" Value="Stretch" />
  </Style>
 </ListView.ItemContainerStyle>
<ListView.ItemTemplate>
When you have the listview you need to define the item template, with this control in it. The control has 5 important properties you have to use:
Content, this property sets the maincontent that is always visible.
AcceptContent, this property is the content that get visible when you swipe to right
AcceptCommand, this command will be executed when the user performs the right swipe. Make sure you bind a command. If there is no command set, or the command returns false when the canexecute is invoked the control wont let you do a right swipe.
DeclineContent, same as the AcceptContent, just for left swipe.
DeclineCommand, same as the AcceptCommand, just for left swipe.
Xaml:
<DataTemplate>
 <Grid>
  <controls:ActionListItem Foreground="Black" Height="60"
                           Background="White"
                           AcceptBackground="Green"
                           DeclineBackground="Red"
                           AcceptCommand="{Binding AcceptCommand}"
                           DeclineCommand="{Binding DeclineCommand}">
                        <controls:ActionListItem.Content>
                            <Grid Background="White" Margin="10, 5">
                                <Grid.RowDefinitions>
                                    <RowDefinition />
                                    <RowDefinition />
                                </Grid.RowDefinitions>
                                <TextBlock Text="{Binding Name}" Foreground="Black" FontWeight="SemiBold" />
                                <TextBlock Text="{Binding Description}" Foreground="Black" Grid.Row="1" />
                            </Grid>
                        </controls:ActionListItem.Content>

                        <controls:ActionListItem.AcceptContent>
                            <Grid Margin="20,0,0,0" HorizontalAlignment="Left">
                                <SymbolIcon Symbol="Accept" />
                            </Grid>
                        </controls:ActionListItem.AcceptContent>
                        <controls:ActionListItem.DeclineContent>
                            <Grid Margin="0,0,20,0" HorizontalAlignment="Right">
                                <SymbolIcon Symbol="Delete" />
                            </Grid>
                        </controls:ActionListItem.DeclineContent>
                    </controls:ActionListItem>
                </Grid>
            </DataTemplate>